
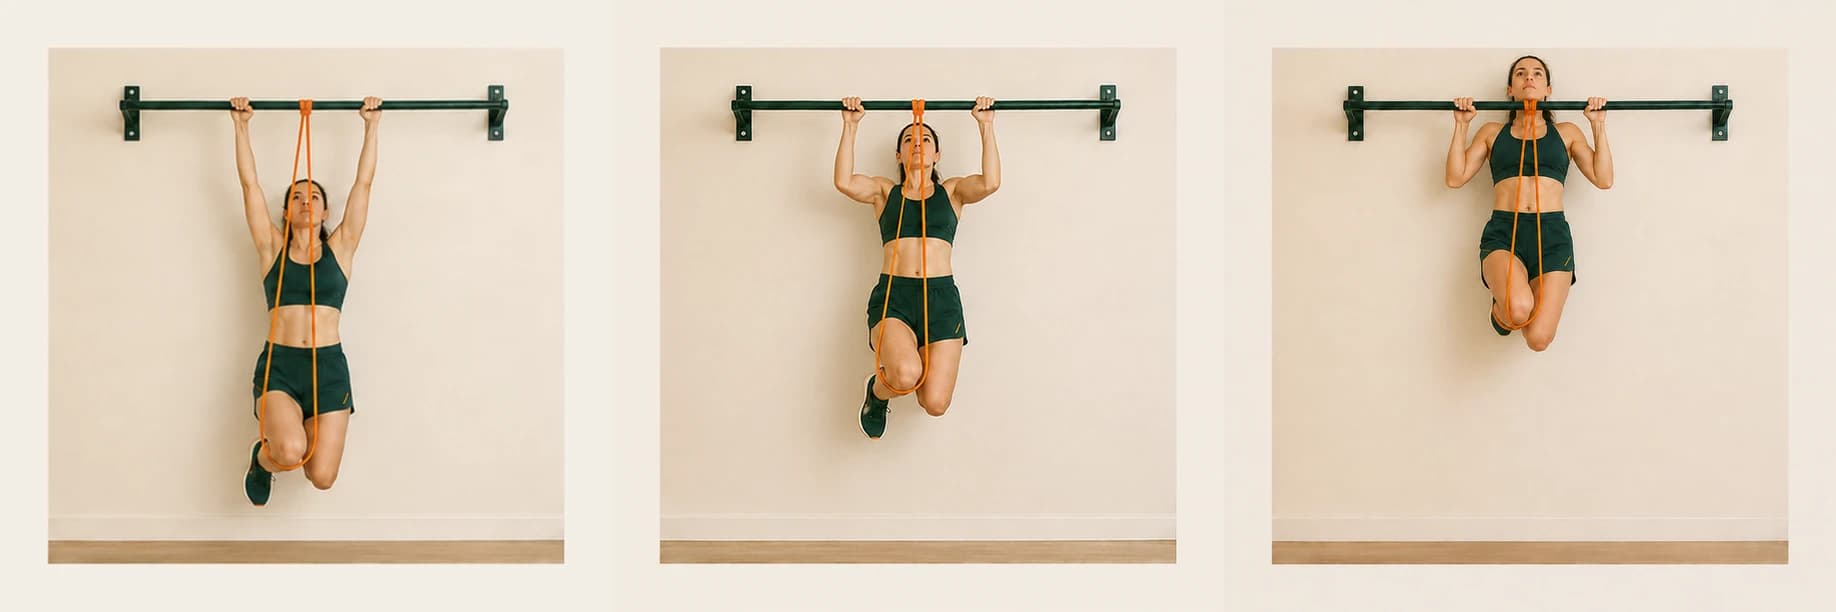
Execution
How to do it
- 01
Loop the band around the bar, place one foot or knee in the loop and grip the bar with hands slightly wider than your shoulders.
- 02
Start with straight arms, shoulders down and abs braced.
- 03
Pull by driving your elbows down until your chest approaches the bar.
- 04
Lower yourself under control until your arms are straight, without dropping.
Swinging or jerking to get up. When it gets easy, switch to a thinner band.
Sources: NASM — Band Assisted Pull-Up. These cues do not replace a professional if you have pain or are in rehabilitation.
The decision
When this movement makes sense
It keeps the pull-up pattern more directly than the band pulldown and provides an explicit step before the unassisted pull-up.
Without a validated band setup or space around the bar, the assisted pull-up is not an option, even if each object exists separately.
Real requirements
Configurations kept genuinely separate
One resistance band + One pull-up bar
4–10 repetitions- Equipment
- One resistance band + One pull-up bar
- Supports and space
- a bar compatible with band setup; full clearance around the pull-up bar
- Setup
- 105 s
- Planned work
- 45 s
- Planned rest
- 105 s
- Planned sets
- 1–3
- Complete budget
- 195–495 s